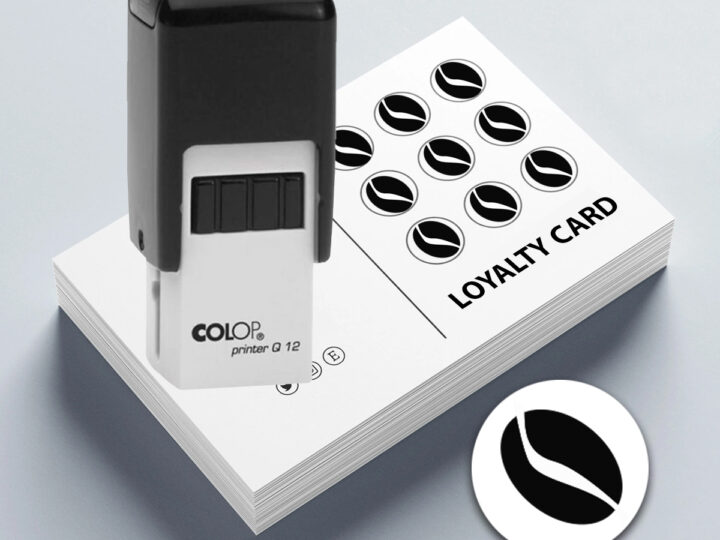
When you are creating custom pizza box stamps we can help to be creative to add a personal touch to your pizza boxes. Here’s a step-by-step guide on how to make and use pizza box stamps on our website design tool:
Materials You’ll Need:
- Head to our designer tool, pick your stamp and design using the designer tool.
- Ink Pad: Get an ink pad suitable for stamping on pizza boxes. We have these on our website for you to purchase
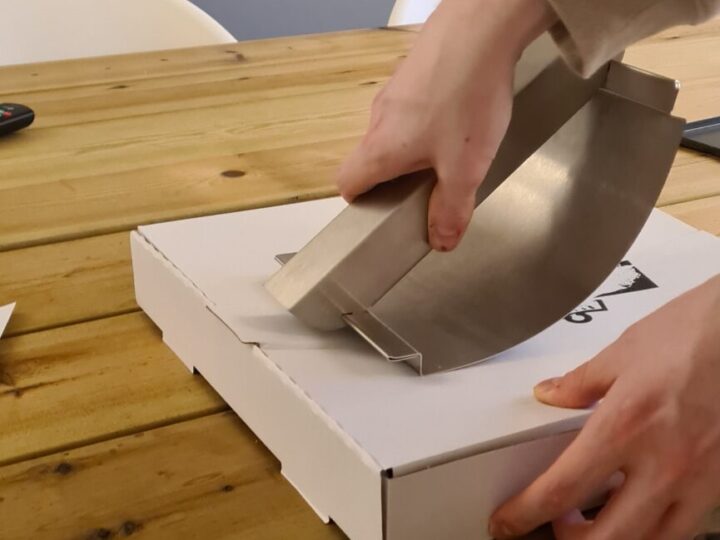
- Pizza Boxes: You’ll need the pizza boxes you plan to stamp.
- Design: Have a clear design and logo to upload to our design tool.
Steps:
- Design Your Stamp on our designer:
- Choose the colour ink pad to go with your design
- Order the stamp and await delivery
- Test the Stamp:
- Before stamping your pizza boxes, do some test prints on scrap paper to make sure your stamp looks the way you want it to.
- Prepare Your Ink Pad:
- Make sure your ink pad is well-inked but not overly saturated. You can test it on scrap paper to ensure it’s producing clean, even prints.
- Stamp the Pizza Boxes:
- Carefully press the stamp onto the pizza boxes. Apply even pressure to ensure a clear print. You may want to practise on a few boxes before doing the final ones to get the hang of it.
- Allow the Ink to Dry:
- Let the ink on the pizza boxes dry completely before stacking or delivering the pizzas.
- Optional: Customise Further:
- You can use different coloured ink pads (order these from our website) or combine multiple stamps to create more complex designs.
- Clean Your Stamp:
- After you’re done, clean the stamp with warm, soapy water to remove any residual ink.
- Store Your Stamp:
- Store your pizza box stamp in a cool, dry place to keep it in good condition for future use.
By following these steps, you can create and use custom pizza box stamps to add a unique and personal touch to your pizza boxes. Whether you’re running a pizzeria or hosting a pizza party, custom stamps can be a great way to make your pizza boxes stand out.